Let’s get started with creating your first survey!
1. Create a new survey
After you click on Create New Survey, give it a name, and then you’ll be taken to your survey dashboard.
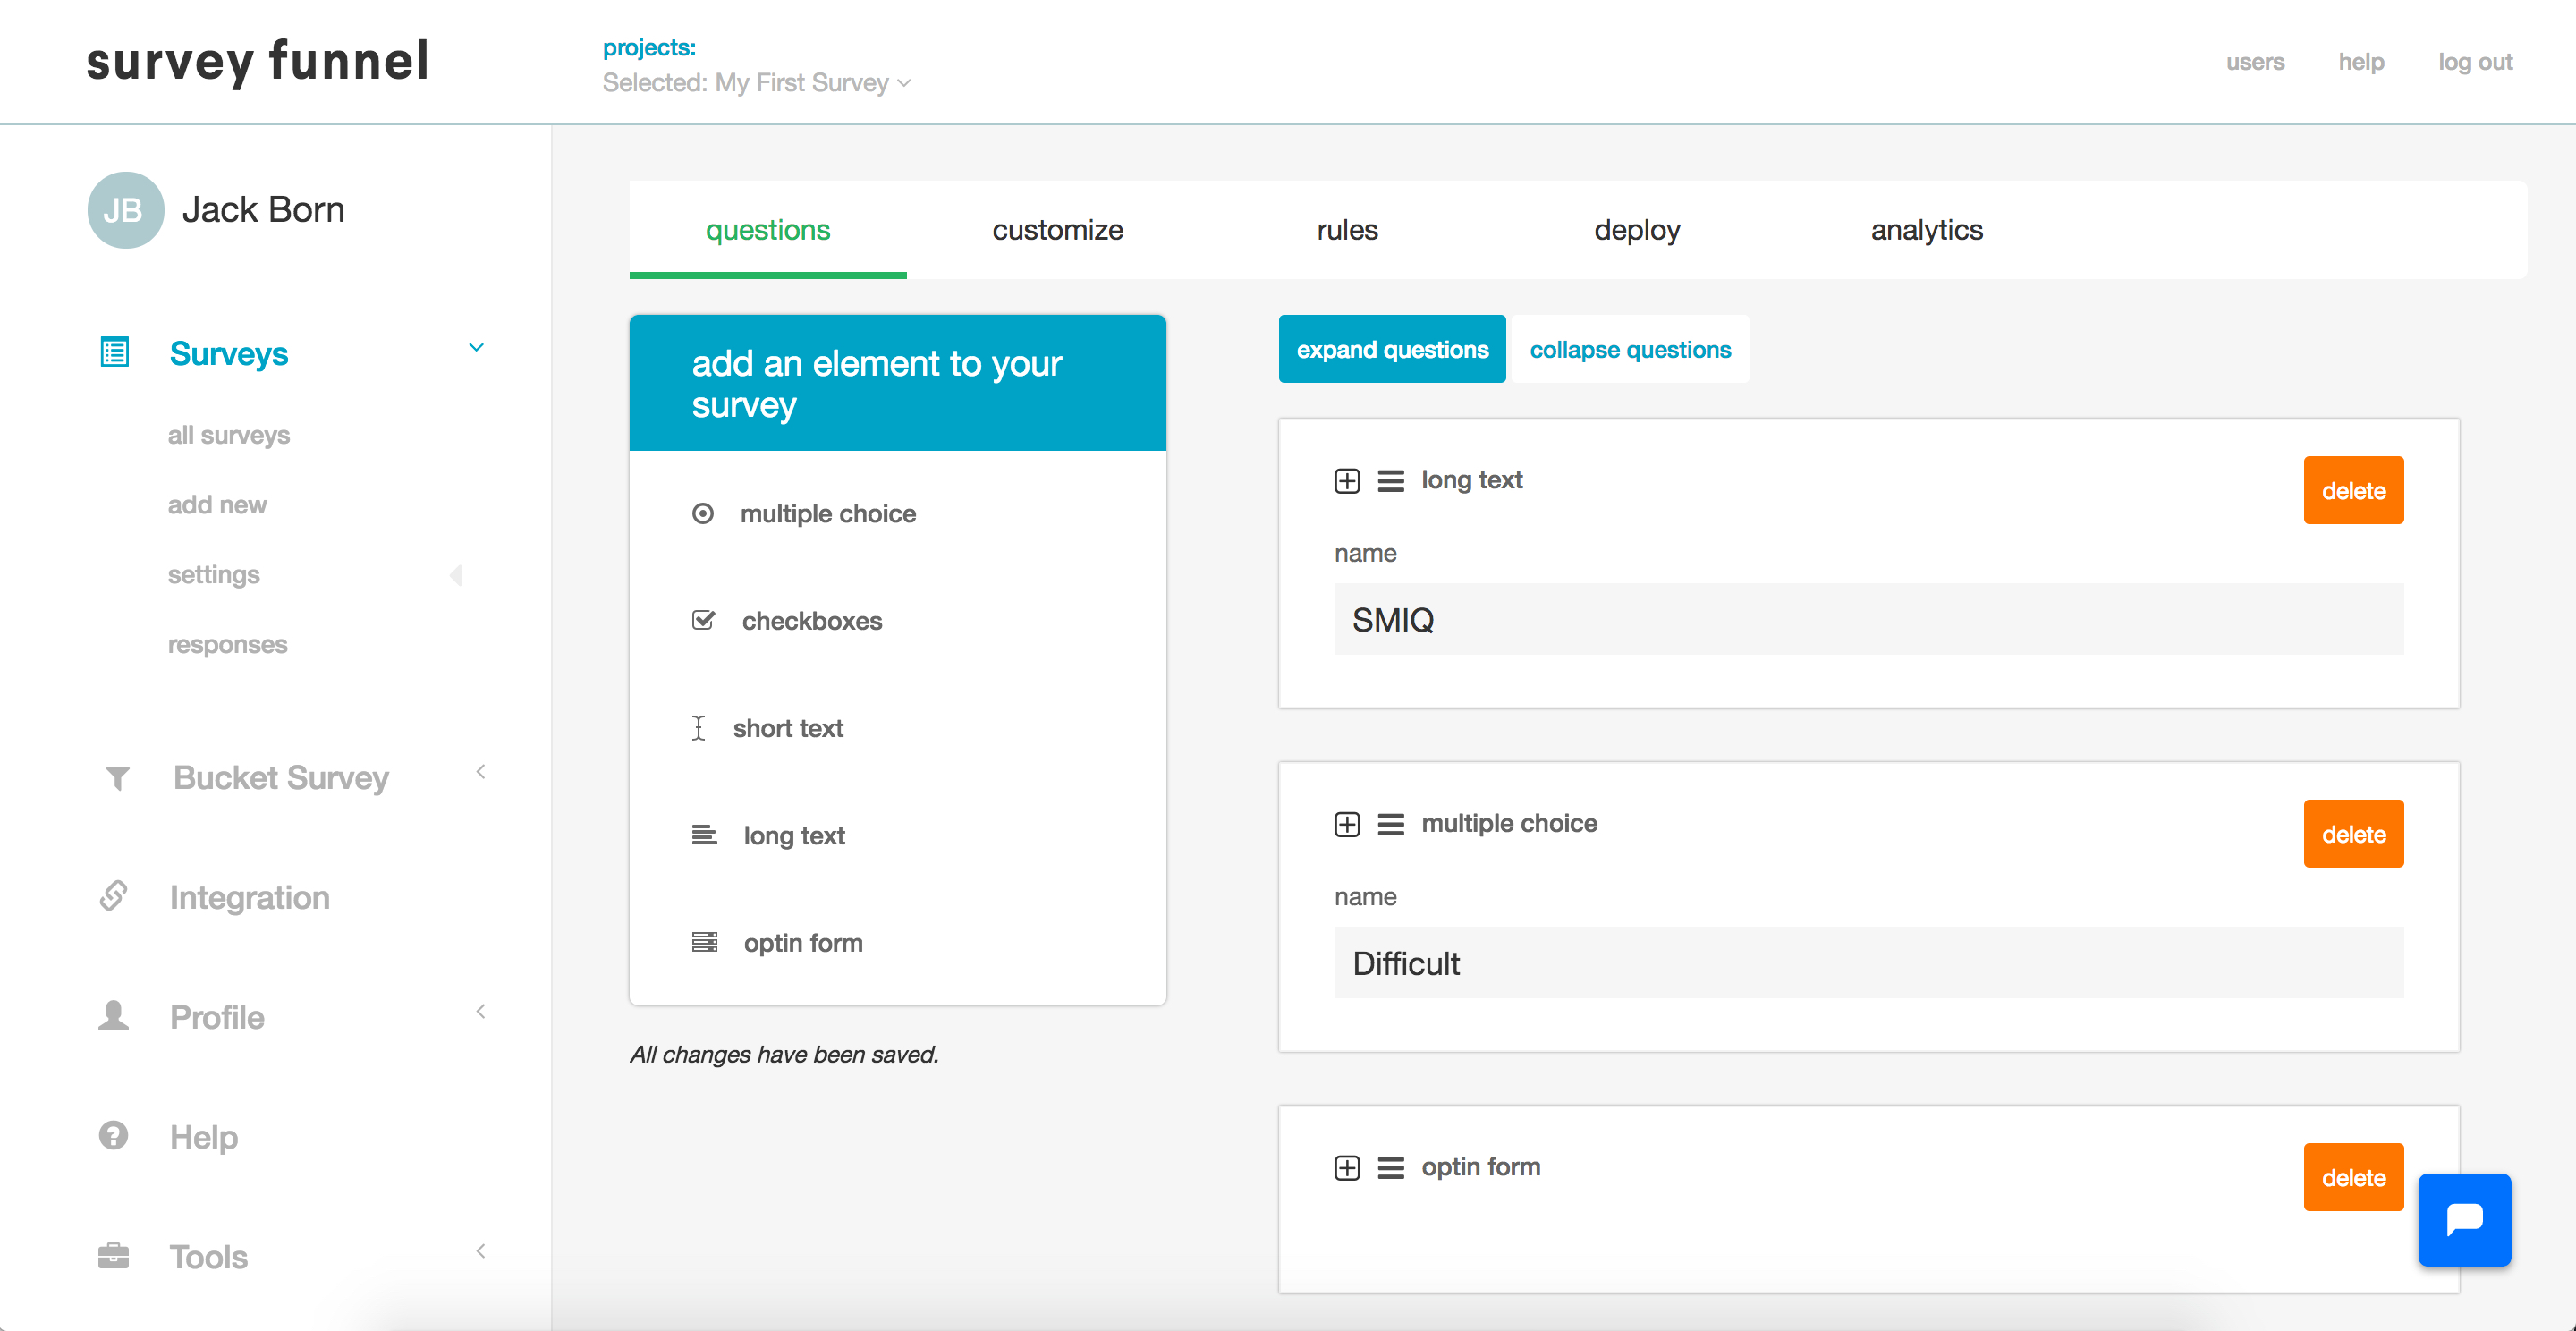
Whenever you create a new survey you’ll see four questions that Survey Funnel automatically generates.
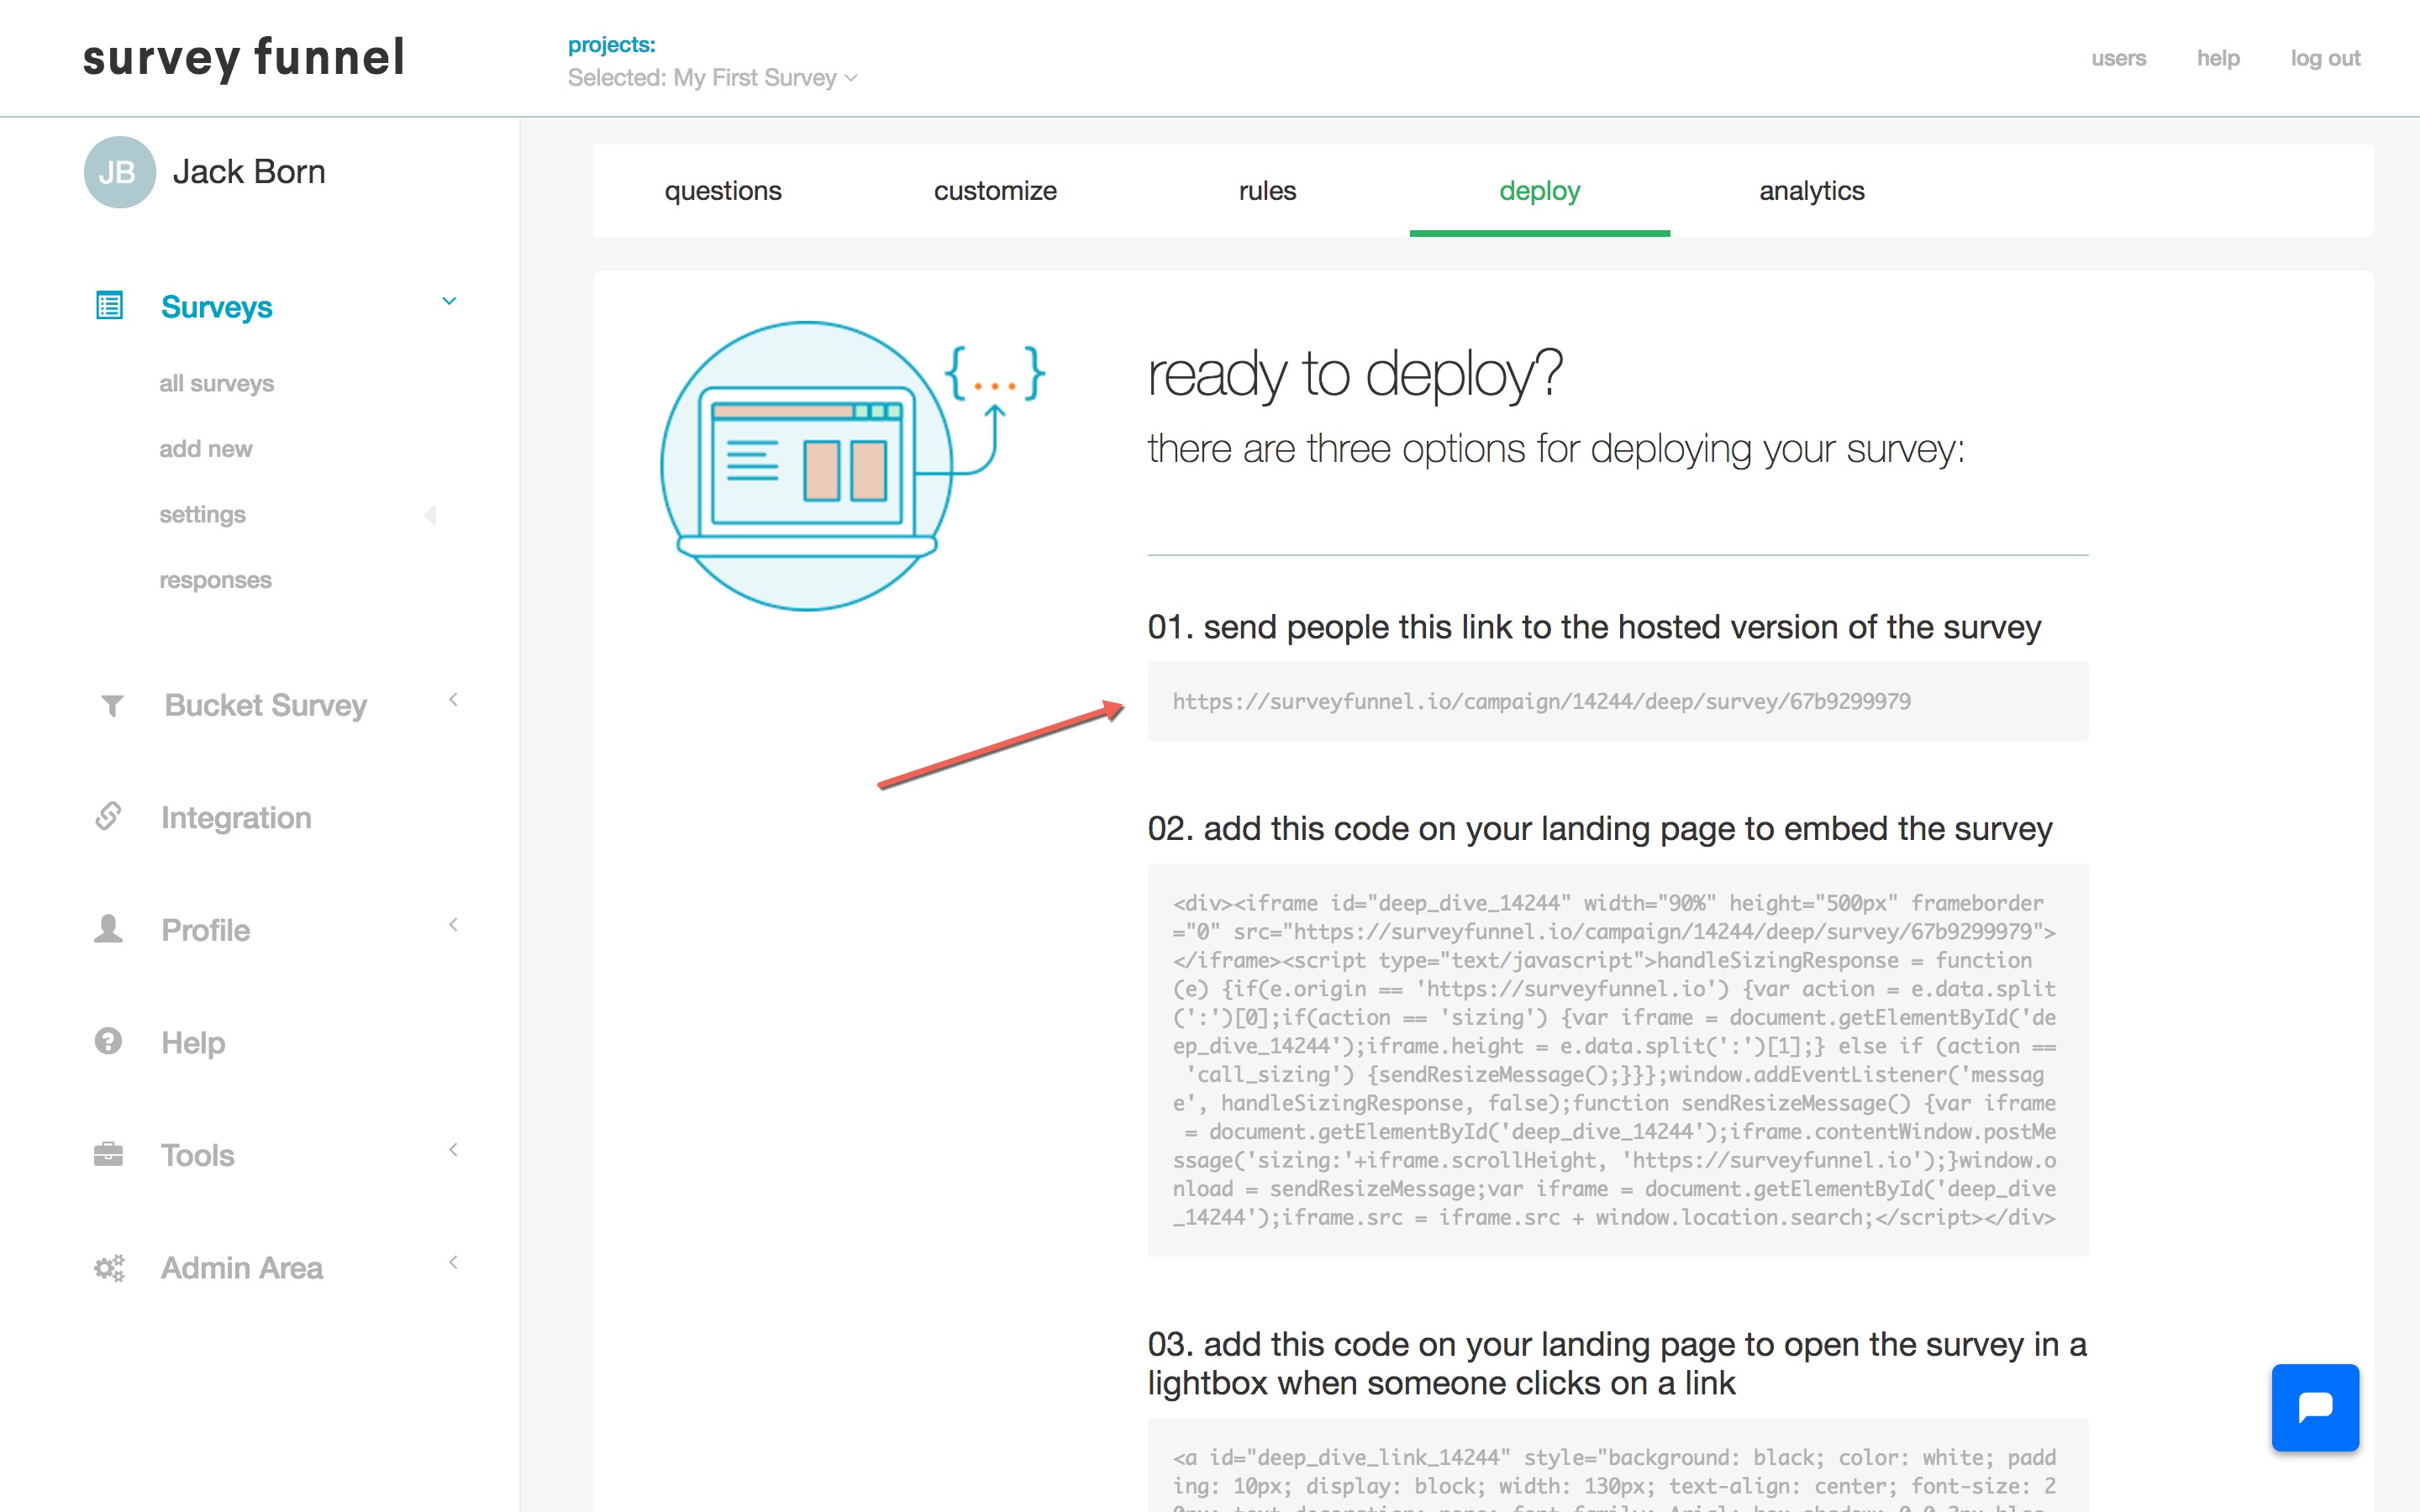
Feel free to edit or delete those questions, but the cool thing is that you can immediately go to the Deploy tab, copy and paste the first URL into a browser, and see a working version of your survey immediately.
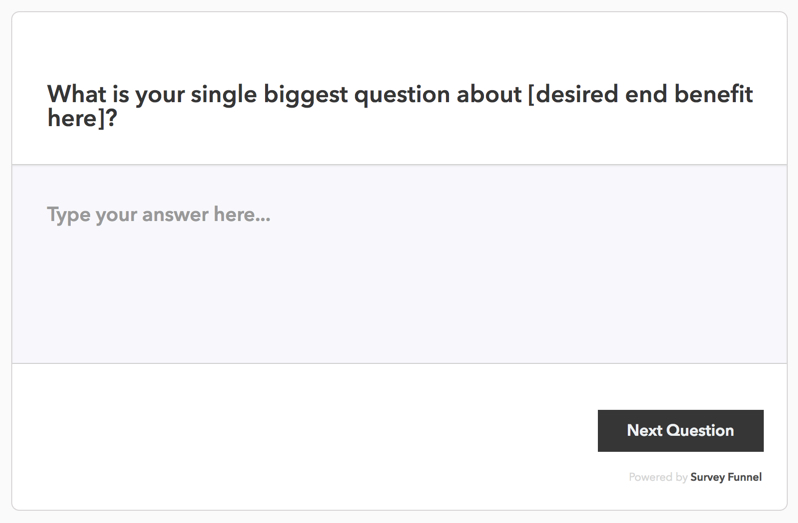
2. Preview your survey
3. Add new questions to your survey
Now, go ahead and switch back to the Questions tab.
To add a new survey question, just look on the left at 'Add an element to your survey' and choose a question type to add to your survey.
Here’s an overview of the different types of questions you can add to your survey:
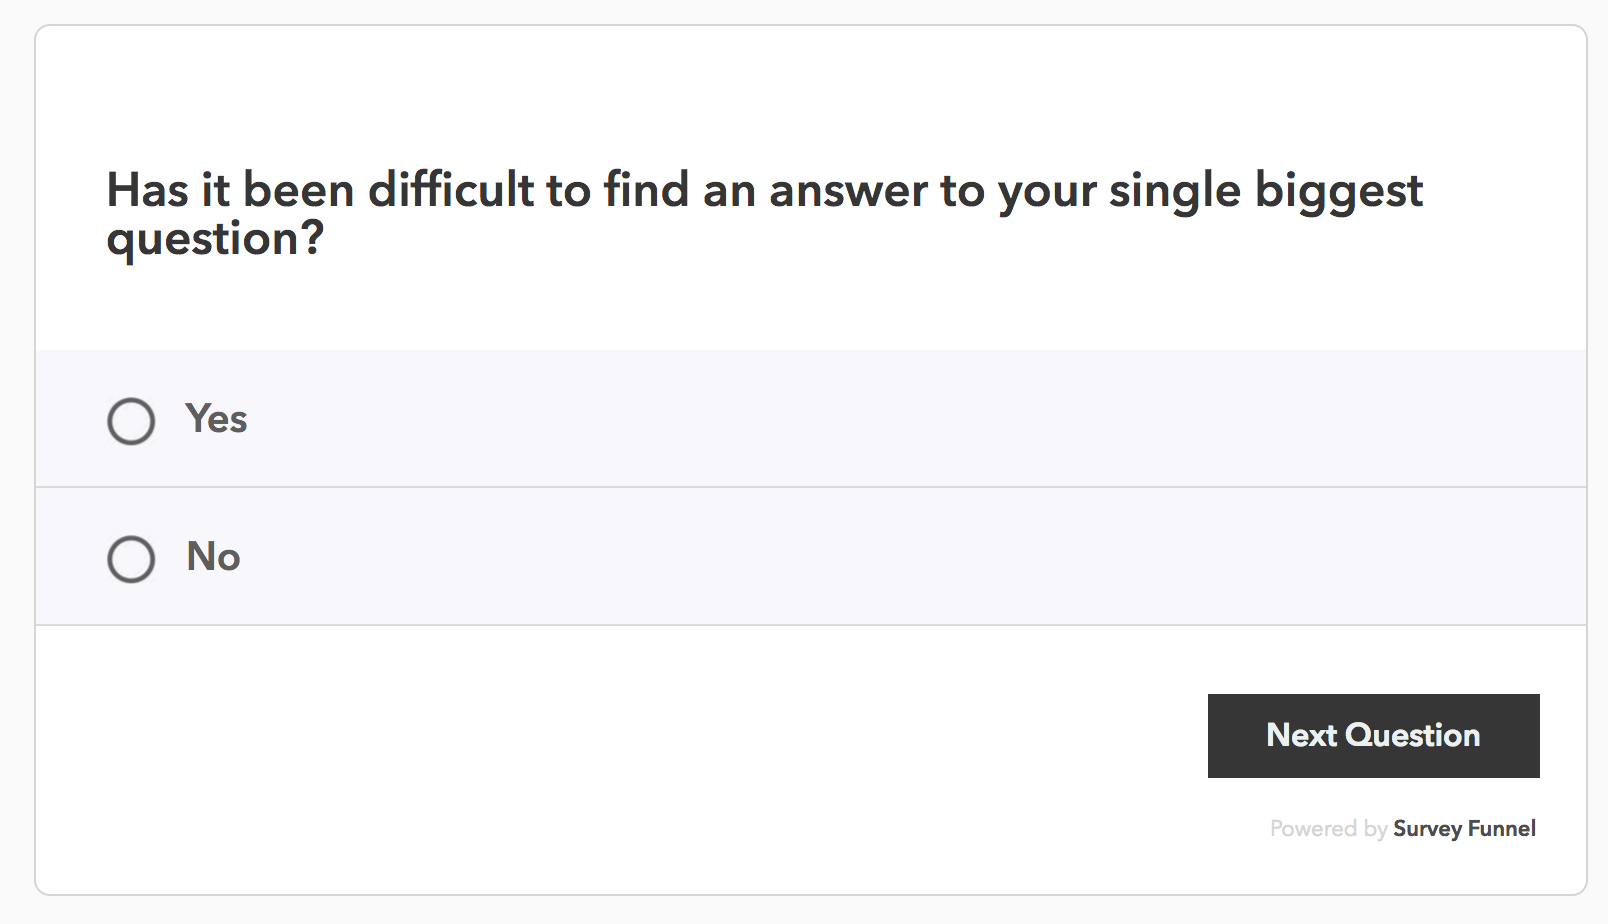
Multiple choice: Select one answer from multiple choices (radio buttons)
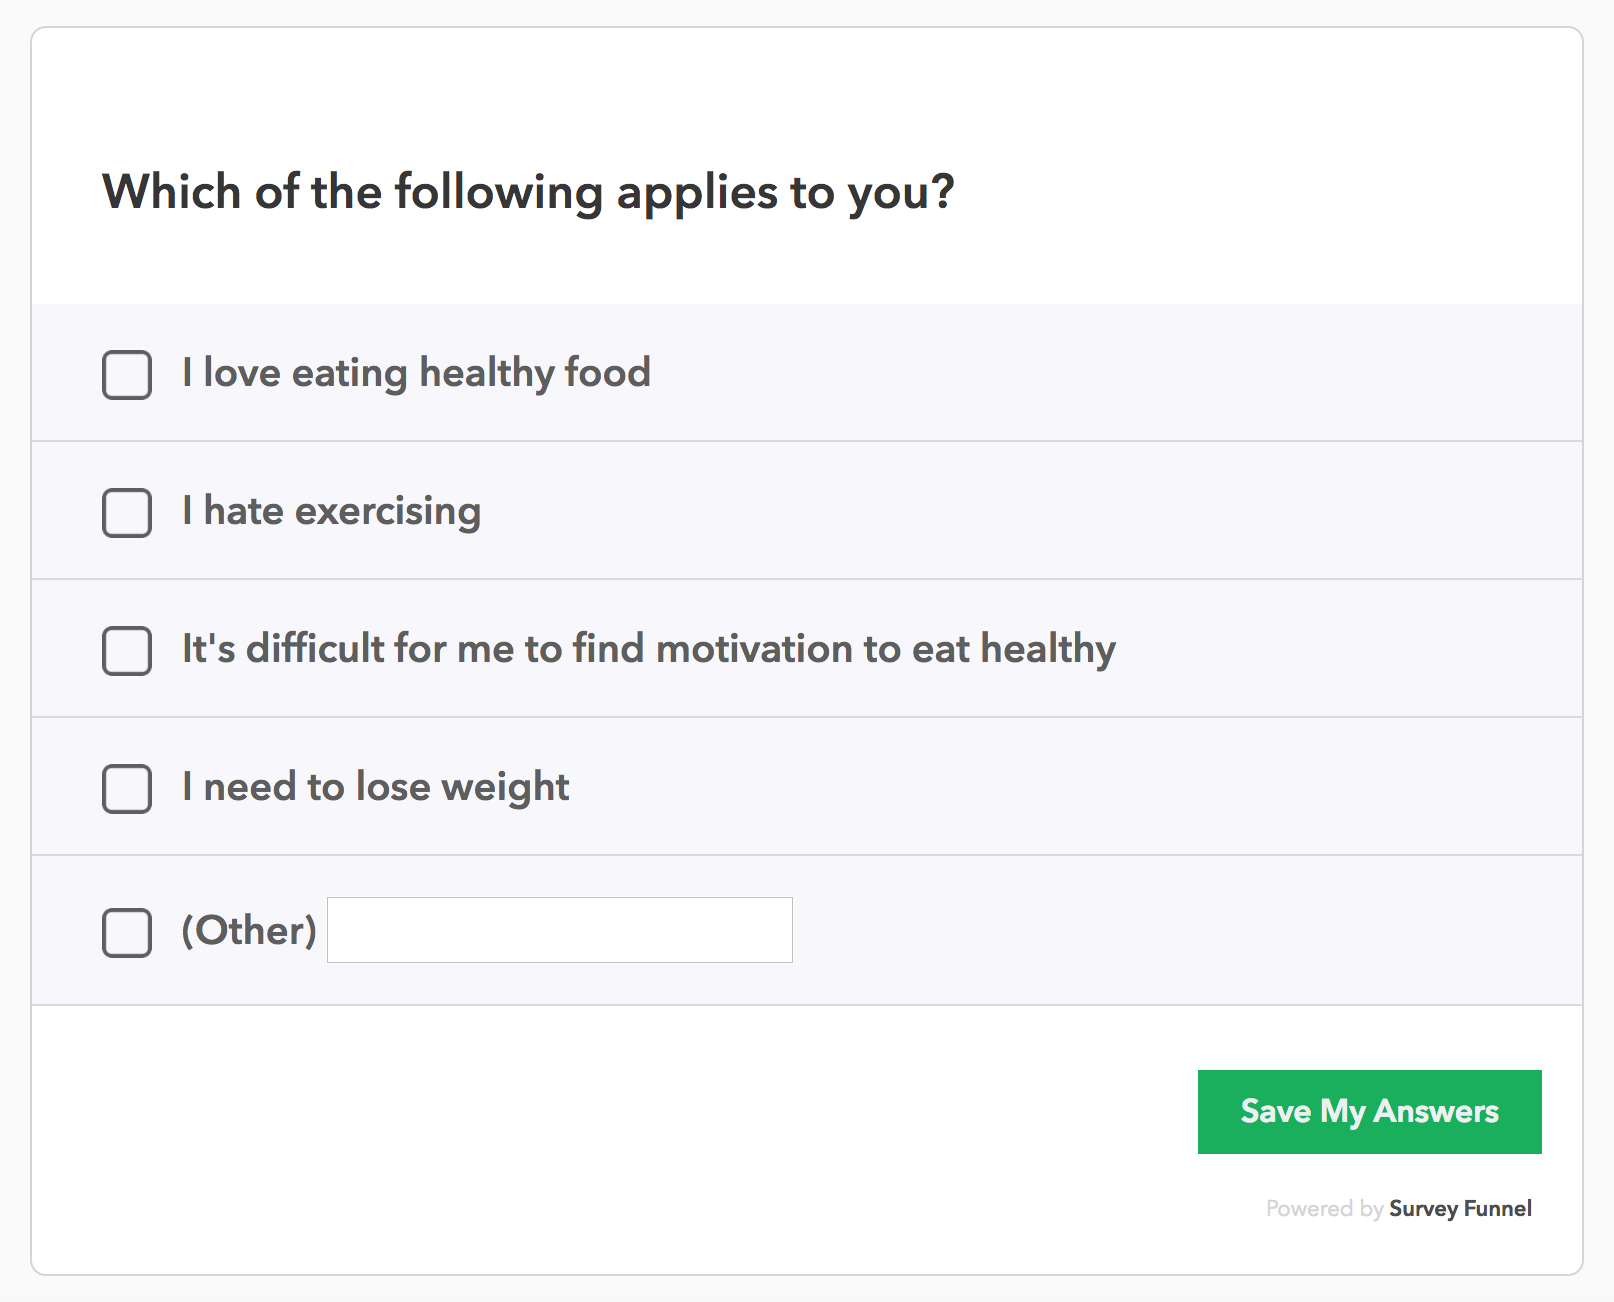
Checkboxes: Give the option for multiple answers
Short text: Offer space for a lengthier response.
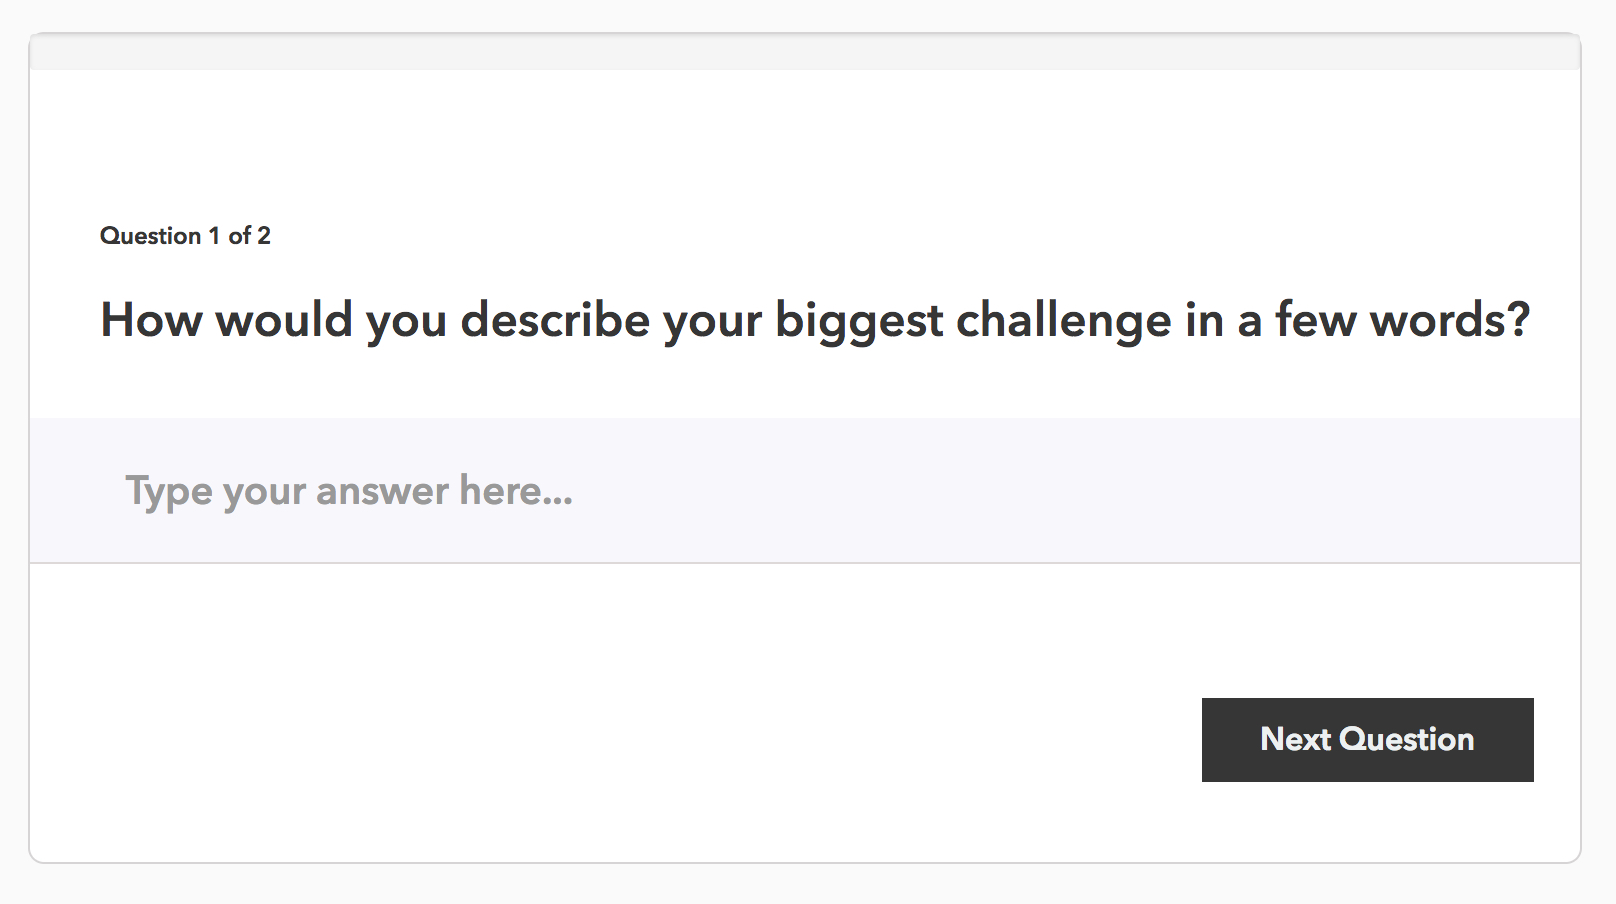
Long text: Single-line input field.
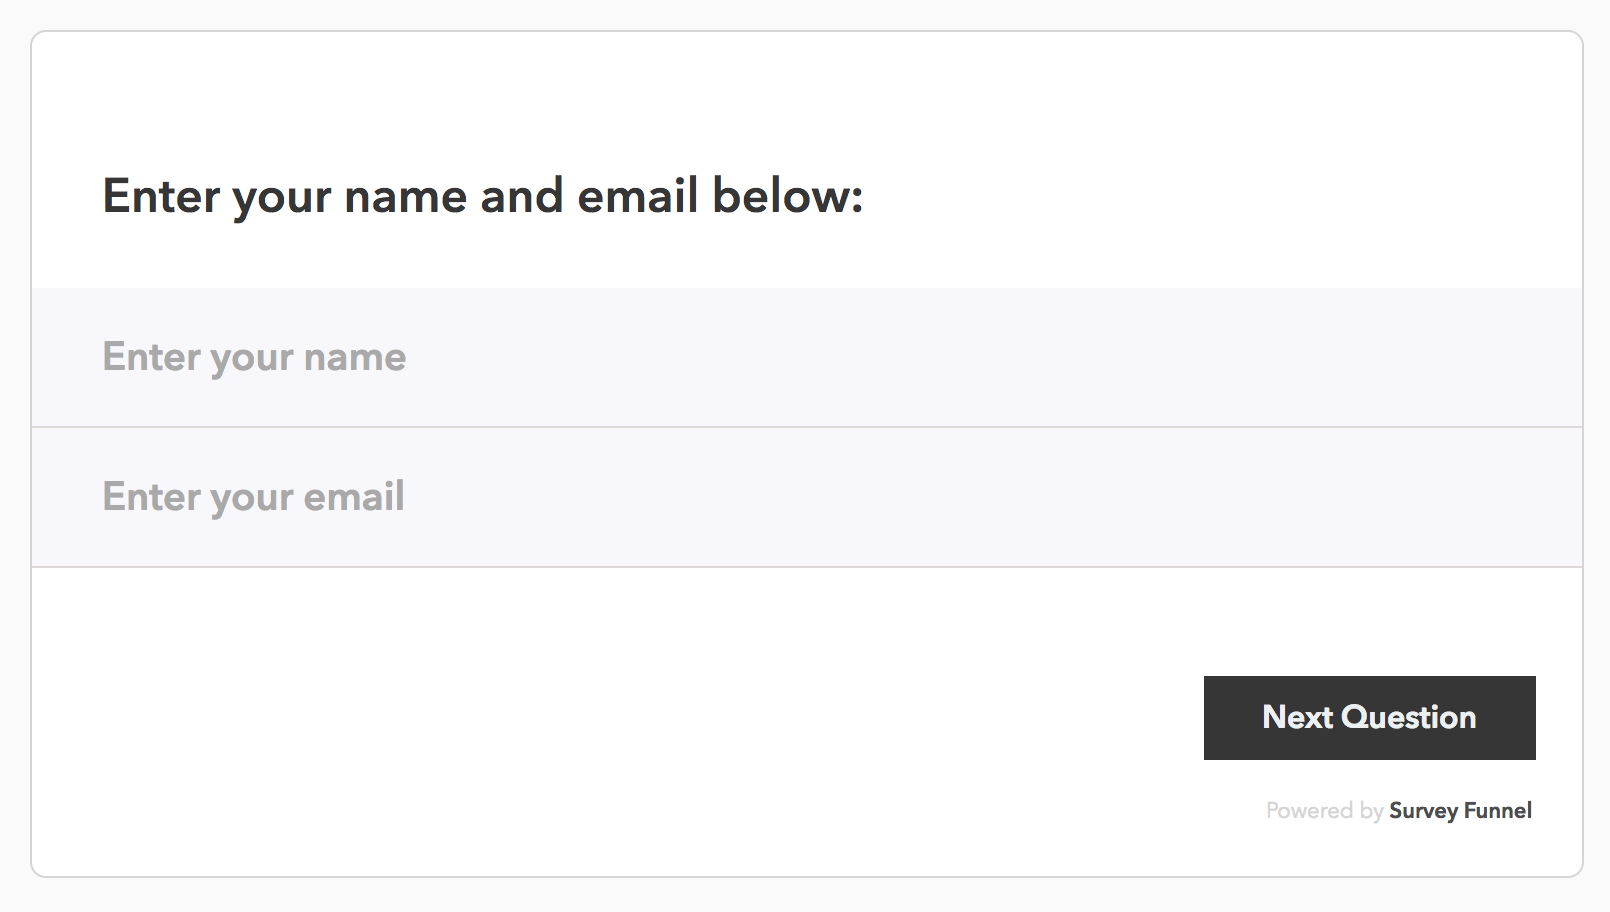
Optin form: Ask for the name and email of the person taking your survey.
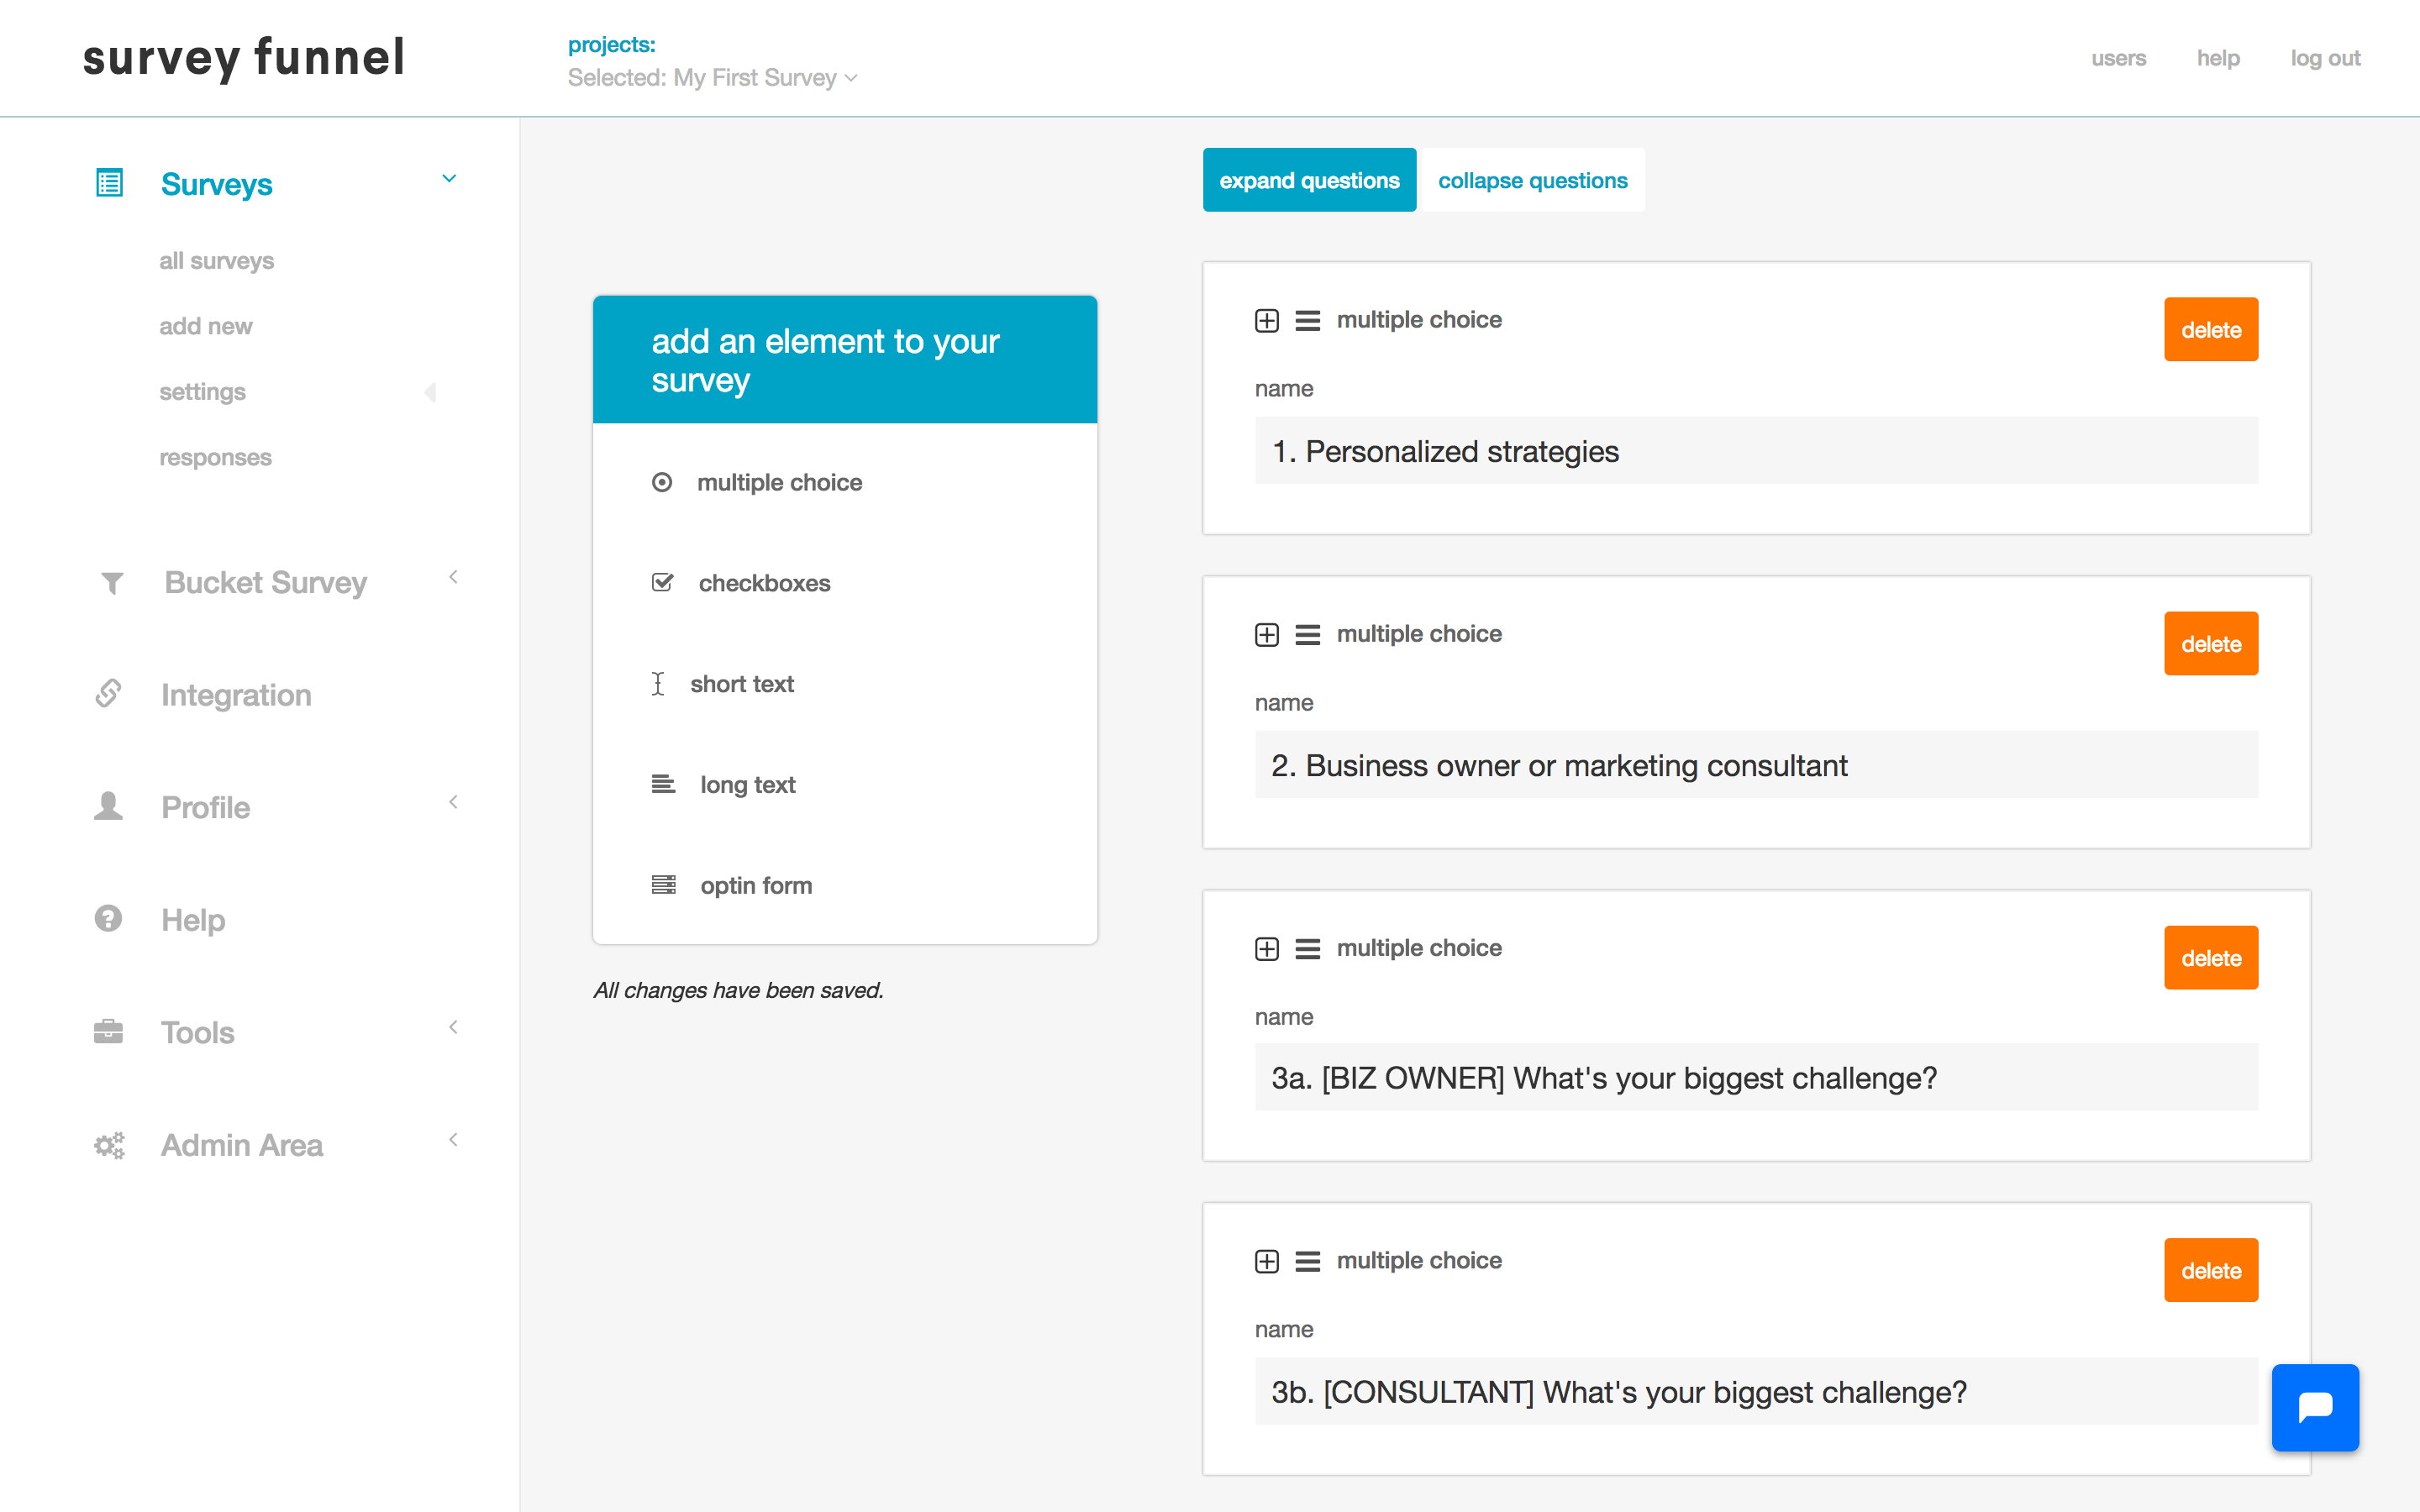
4. Edit questions
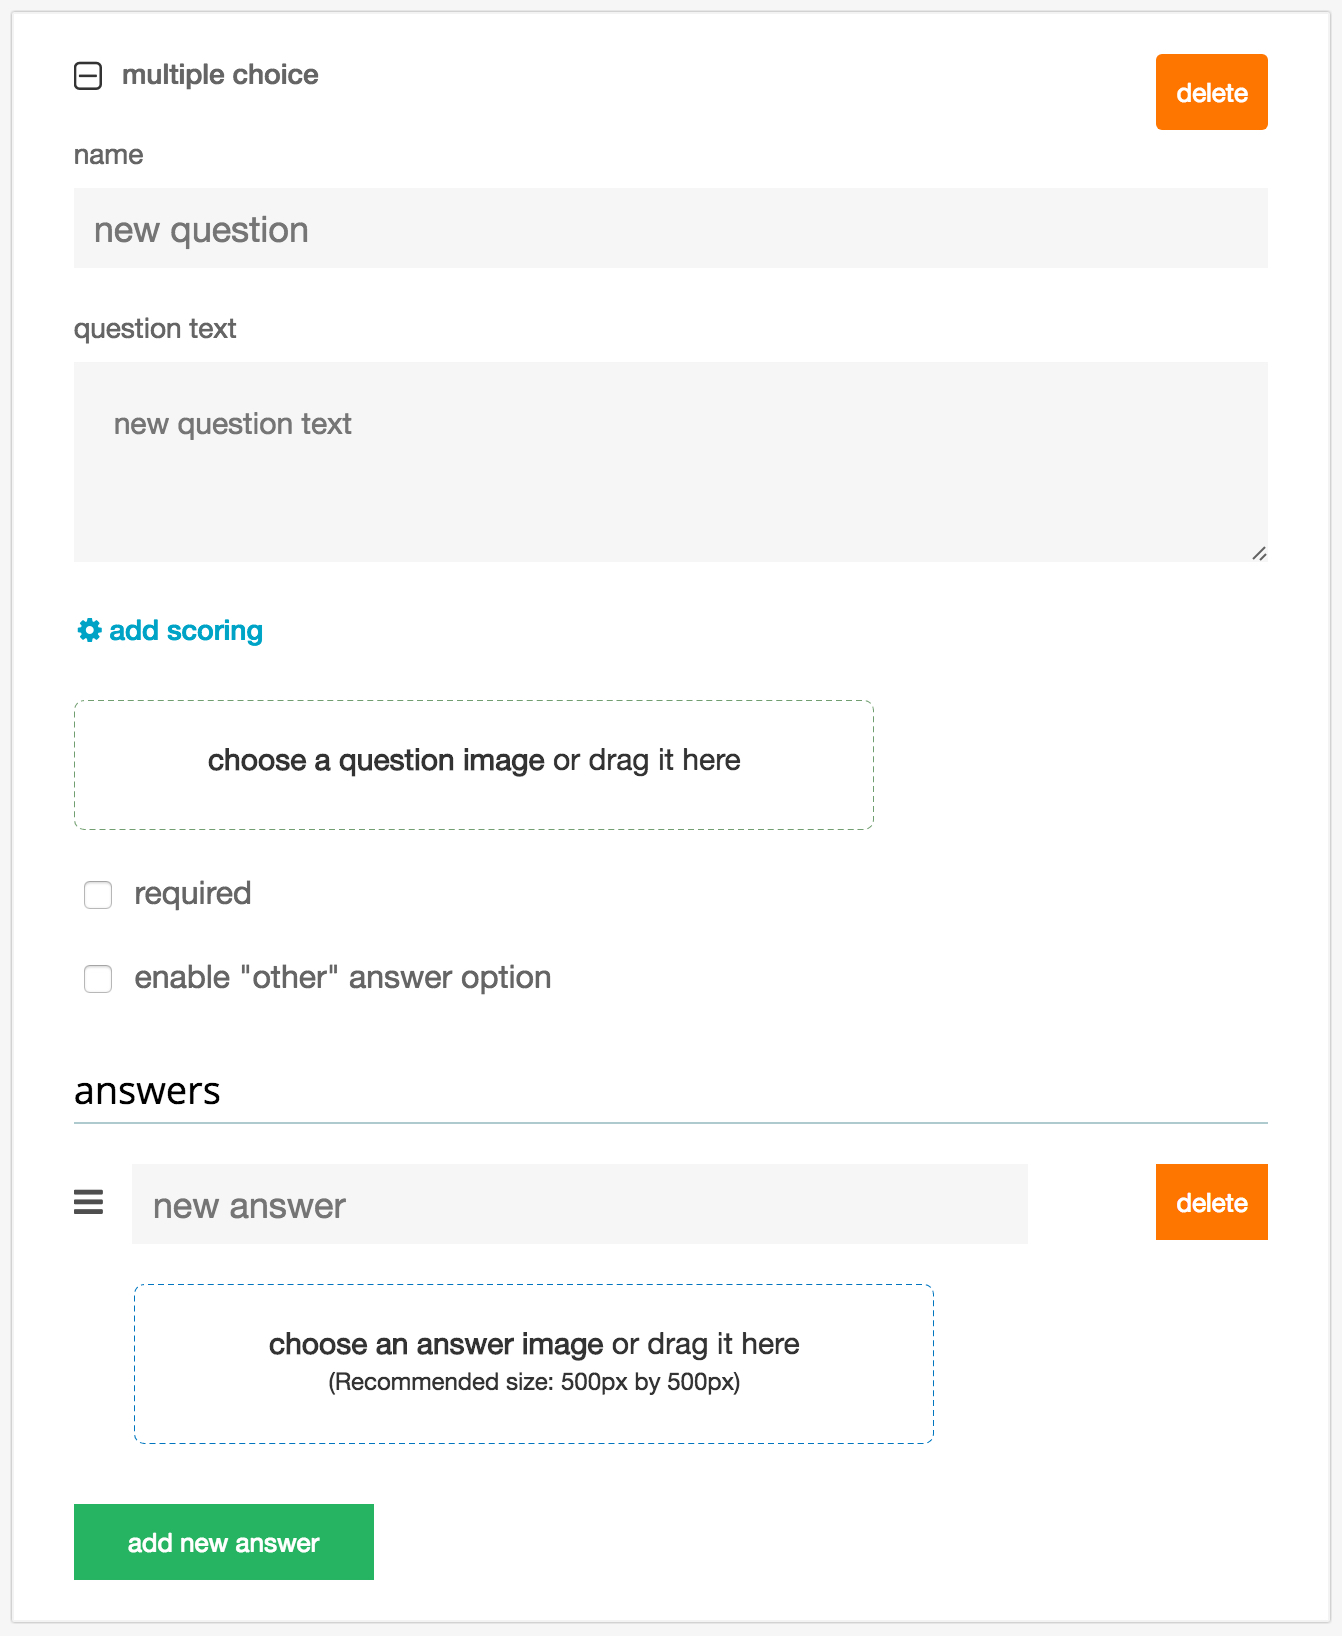
When you’re in the Questions tab, you can also quickly edit your survey’s questions and answers:
- Create an internal name for each question (something that only you get to see)
- Update the question text (that people taking the survey will see)
- Add branch logic (we’ll cover that in a few lessons!)
- Upload a question image
- Make the question required and/or enable the “Other” option
- Add answer choices and images
- Delete questions and answers